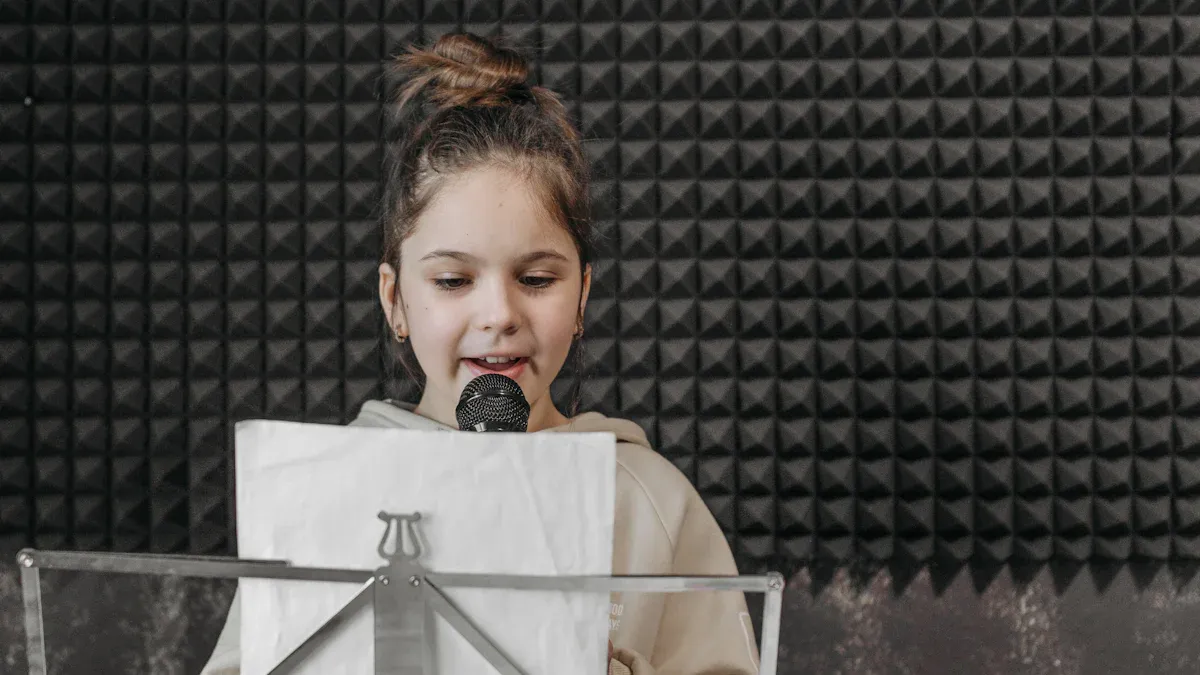
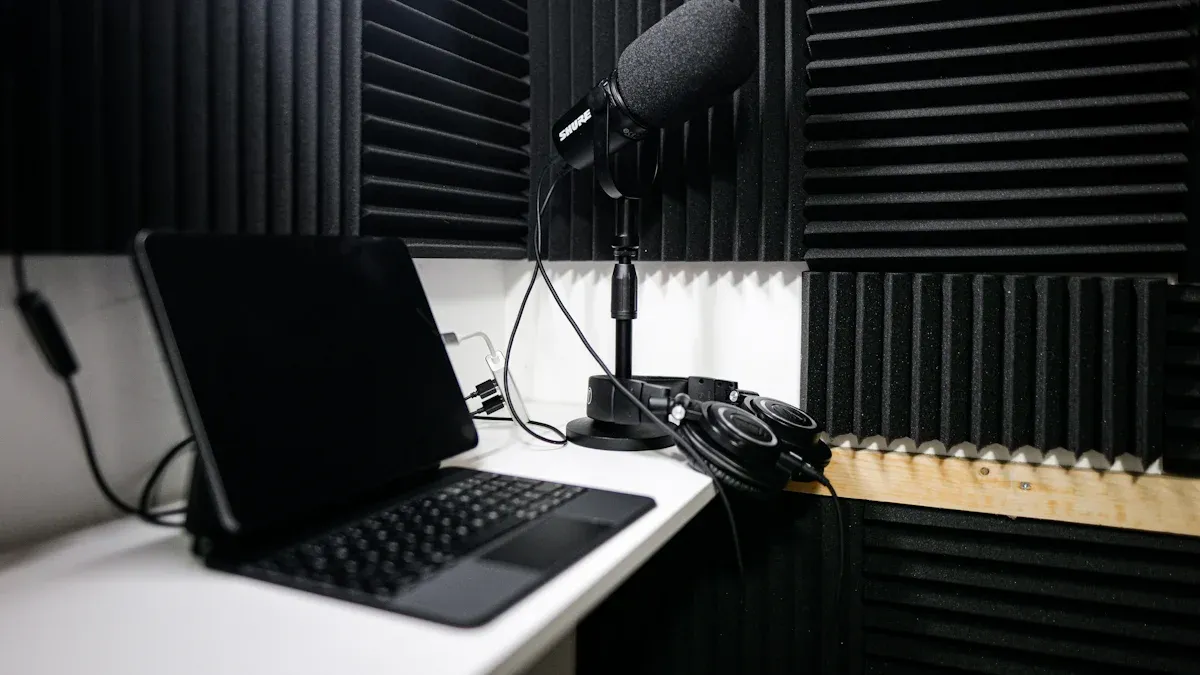
A soundproof booth provides a quiet sanctuary to escape distractions, significantly improving focus and productivity. Studies reveal that interruptions occur every 11 minutes, costing valuable time. For remote workers, a sound proof pod effectively minimizes home distractions. Whether recording music or working in a garden pod office, acoustic booths enhance both privacy and sound quality.
Materials and Tools for a Soundproof Booth

Essential Materials for Soundproofing
Building an effective soundproof booth requires selecting materials that minimize noise transmission and absorb sound effectively. Each material serves a specific purpose, from blocking external noise to reducing echoes within the booth. Below is a comparison of commonly used soundproofing materials based on their technical specifications:
| Material | STC Rating | NRC | Cost | Installation Complexity | Applications |
|---|---|---|---|---|---|
| Acoustic Foam | 15-20 | 0.7-0.9 | Moderate | Easy | Walls, ceilings, vehicles |
| Mass Loaded Vinyl | 25-30 | N/A | High | Moderate | Walls, floors, ceilings |
| Fiberglass | 30-35 | 0.8-0.9 | Low | Moderate | Walls, ceilings, floors |
| Bitumen | 30-40 | N/A | Moderate | High | Walls, floors, vehicles |
| Green Glue | 10-15 (improvement) | N/A | Moderate | Easy | Walls, ceilings |
| Cork | 20-25 | 0.5-0.7 | High | Easy | Floors, walls |
| Recycled Denim | 25-30 | 0.7-0.8 | Moderate | Easy | Walls, ceilings, floors |
For optimal results, combining materials like fiberglass and mass-loaded vinyl can enhance both sound absorption and noise isolation. These materials are widely available and cater to various budgets and skill levels.
Tools Required for Construction
Constructing a soundproof booth requires basic tools that ensure precision and efficiency. A well-equipped toolkit simplifies the assembly process and guarantees a sturdy structure. Below is a list of essential tools:
- Measuring Tape: Ensures accurate dimensions for the booth.
- Circular Saw or Jigsaw: Cuts wood and other materials to the required sizes.
- Drill and Screwdriver Set: Facilitates the assembly of the booth frame and installation of soundproofing layers.
- Staple Gun: Secures fabric or acoustic panels in place.
- Utility Knife: Trims excess material for a clean finish.
- Caulking Gun: Applies acoustic sealant to seal gaps and cracks.
- Safety Gear: Includes gloves, goggles, and a dust mask to protect during construction.
Investing in high-quality tools can save time and improve the overall durability of the soundproof booth.
Cost Estimates and Sourcing Tips
Creating a soundproof booth on a budget requires strategic planning and sourcing. Affordable options and DIY techniques can significantly reduce costs without compromising quality. Here are some practical tips:
- Affordable Soundproofing Options: Weatherstripping, door sweeps, and blankets can reduce noise effectively. These materials are cost-efficient and easy to install.
- DIY Installation: Opt for soundproofing panels that do not require professional installation. This approach saves both time and labor costs.
- High-Density Materials: Use 30mm or 60mm high-density Rockwool or glass-fiber slabs for effective sound isolation. Lay these directly onto the floor or walls.
- Floating Floor Technique: Build a floating floor by layering two chipboard sheets over insulation. This method minimizes sound transmission through the floor.
- Barrier Mats: For wooden floors, add a 20kg per square meter barrier mat beneath the insulation to enhance noise reduction.
Sourcing materials from reputable suppliers ensures quality and durability. Companies like Ningbo Cheerme Intelligent Furniture Co., Ltd. offer innovative modular solutions for soundproofing. Their expertise in modular assembly and sustainable design makes them a reliable choice for high-performance soundproofing materials.
Pro Tip: Purchase materials in bulk to reduce costs. Many suppliers offer discounts for larger orders, making it easier to stay within budget.
Step-by-Step Guide to Building a Soundproof Booth

Planning and Designing the Booth
A well-thought-out design lays the foundation for an effective soundproof booth. Begin by identifying the purpose of the booth, whether for recording, practicing music, or creating a quiet workspace. Measure the available space and decide on the booth’s dimensions. Smaller booths are ideal for compact spaces, while larger booths accommodate more equipment and activities.
Create a blueprint that includes the booth’s frame, soundproofing layers, ventilation system, and door placement. Modular designs simplify assembly and allow for future upgrades. Companies like Ningbo Cheerme Intelligent Furniture Co., Ltd. specialize in modular solutions, offering prefabricated components that streamline construction.
Pro Tip: Use software like SketchUp or AutoCAD to visualize the design and ensure accurate measurements before construction begins.
Constructing the Frame
The frame provides structural integrity to the soundproof booth. Follow these best practices for assembling a durable frame:
- Start with wood framing and install studs to create the wall structure.
- Fill the wall cavity with insulation, such as mineral fiber or Rockwool.
- Use RSIC sound isolation clips or mass-loaded vinyl (MLV) on the studs for enhanced soundproofing.
- Finish with a ⅝” drywall and seal all edges with acoustical sealant.
- Apply Green Glue between layers and add a second layer of ⅝” drywall for maximum noise reduction.
- Install a heavy solid core door with a Sound Lock door seal kit to eliminate air gaps.
These techniques ensure the frame is sturdy and capable of supporting soundproofing materials effectively.
Installing Soundproofing Layers
Layering soundproofing materials correctly is crucial for optimal noise reduction. Use the following sequence:
- Base Layer: Apply 1/4” gypsum wallboard parallel to steel studs with drywall screws.
- Face Layer: Add 5/8” Type X gypsum wallboard parallel to each side, staggering joints by 24”.
- Insulation: Insert 1-1/2” mineral fiber insulation into the stud space for friction fitting.
Alternatively, for wood studs, use 1/2” Type X gypsum wallboard as the base layer and inner layer, separated by a 1” space. This configuration achieves an STC rating of up to 59, ensuring superior sound attenuation.
Sealing Gaps and Cracks
Even the smallest gaps can compromise the booth’s soundproofing capabilities. Seal all seams and cracks using acoustic caulk. This material blocks sound transmission and reinforces the effectiveness of soundproofing layers. The isoTRAX® Soundproofing System offers additional isolation by preventing sound waves from traveling along common studs.
Note: Treat sealing as a critical step, as sound waves behave similarly to water, penetrating through any openings.
Adding Ventilation for Airflow
Proper ventilation prevents stuffiness during extended use of the soundproof booth. Design a system that ensures airflow without compromising sound insulation. Consider the following features:
- Dual ventilation systems for effective air circulation.
- VSS for internal silencing to maintain sound isolation.
- EFS for external noise control to enhance booth performance.
| Feature | Value |
|---|---|
| Airflow | 350 m3/h |
| Air Refresh Rate | Every 27 seconds |
These standards ensure the booth remains comfortable while maintaining its acoustic integrity.
Finalizing the Booth with Doors and Acoustic Treatments
Doors and acoustic treatments complete the soundproof booth. Install a solid core door with high STC ratings to minimize noise leakage. Use a Sound Lock door seal kit to eliminate air gaps. For acoustic treatments, add panels or pinboards to absorb sound and reduce echoes.
Smaller booths can cost between $500–$800, while larger, high-performance booths may exceed $2,000. Control expenses by using reclaimed lumber, bulk purchases, and selective upgrades.
Pro Tip: Prioritize acoustic treatments with high sound attenuation performance, such as acoustic pinboards, which reduce noise by an average of 31.44 dB.
Tips for Building a Functional and Cost-Effective Soundproof Booth
Troubleshooting Common Challenges
Building a soundproof booth can present several challenges, but understanding common pitfalls helps avoid costly mistakes. Below are frequent issues encountered during construction:
- Failing to seal holes and air leaks, which compromises soundproofing effectiveness.
- Using subpar or inadequate materials that fail to block or absorb sound efficiently.
- Overlooking ventilation, leading to discomfort during extended use.
Addressing these challenges early ensures a smoother construction process. For example, sealing gaps with acoustic caulk and using high-quality materials like mass-loaded vinyl can significantly improve results.
Enhancing Soundproofing Efficiency
Incorporating advanced techniques enhances the booth’s soundproofing capabilities. The table below outlines effective methods and their advantages:
| Technique | Description | Advantages/Disadvantages |
|---|---|---|
| Acoustic Panels | Blocks vibrations, commonly used in studios. | Effective but can be expensive and require installation. |
| Sound-Absorbing Foam | Lightweight and budget-friendly alternative to acoustic tiles. | Easy to install but less effective than acoustic panels. |
| Sound Blankets | Portable solution made of heavy fabric to absorb sound. | Great for multi-purpose rooms but can be costly. |
| Soundproof Curtains | Thicker fabric curtains that reduce noise from windows. | Easy to install but may not block all noise effectively. |
| Door Sweeps | Simple solution to seal gaps under doors to prevent sound leakage. | Inexpensive and easy to install, but only addresses gaps. |
Combining these techniques, such as pairing acoustic panels with door sweeps, maximizes soundproofing efficiency while maintaining flexibility for various budgets.
Staying Within Budget
Maintaining cost-effectiveness requires careful planning and financial oversight. Consider these strategies:
- Create a detailed budget plan to guide each project step.
- Use reclaimed or recycled materials to reduce expenses.
- Purchase materials in bulk to take advantage of supplier discounts.
- Conduct financial analyses during the project to track spending and adjust as needed.
Budget management ensures the project remains affordable without sacrificing quality. Companies like Ningbo Cheerme Intelligent Furniture Co., Ltd. offer modular solutions that simplify construction and reduce overall costs, making them an excellent choice for budget-conscious builders.
Pro Tip: Regularly compare actual expenses against the budget to identify potential overspending early.
Building a soundproof booth involves careful planning, selecting the right materials, and following a structured assembly process. This project empowers individuals to create a quiet, functional space tailored to their needs. Whether for work or creativity, a soundproof booth enhances productivity and focus. Start today and enjoy the benefits of a noise-free environment.
FAQ
What is the ideal size for a DIY soundproof booth?
The ideal size depends on its purpose. For recording, a 4x4x7 ft booth works well. Larger booths, like 6x6x7 ft, accommodate more equipment.
Tip: Measure available space before deciding on dimensions.
Can modular components simplify the construction process?
Yes, modular components streamline assembly and reduce errors. Companies like Ningbo Cheerme Intelligent Furniture Co., Ltd. offer prefabricated solutions for efficient and sustainable construction.
How can ventilation be added without compromising soundproofing?
Use dual ventilation systems with silencing features. These systems maintain airflow while minimizing noise leakage, ensuring comfort and acoustic integrity.
Pro Tip: Install external noise control features for enhanced performance.

